Often when I start talking to SOLIDWORKS users about splines they cringe, squirm, or announce how much they dislike them. I assure you splines have feelings too – and get a bad reputation when they are poorly tamed. I think they are awesome and are actually quite amazing. I’d like to share a few ways to work with splines that will help wrangle them in – so it doesn’t feel so much like herding cats.
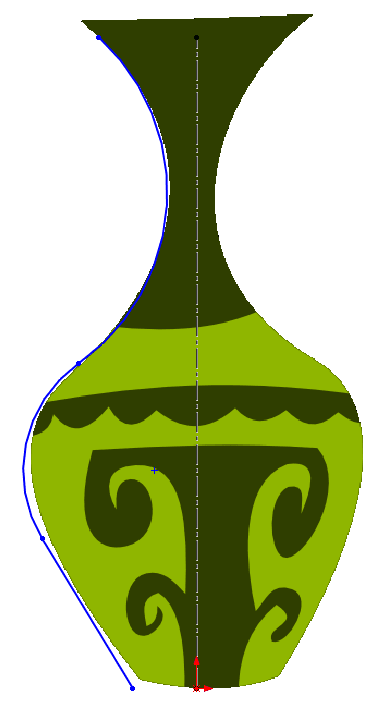
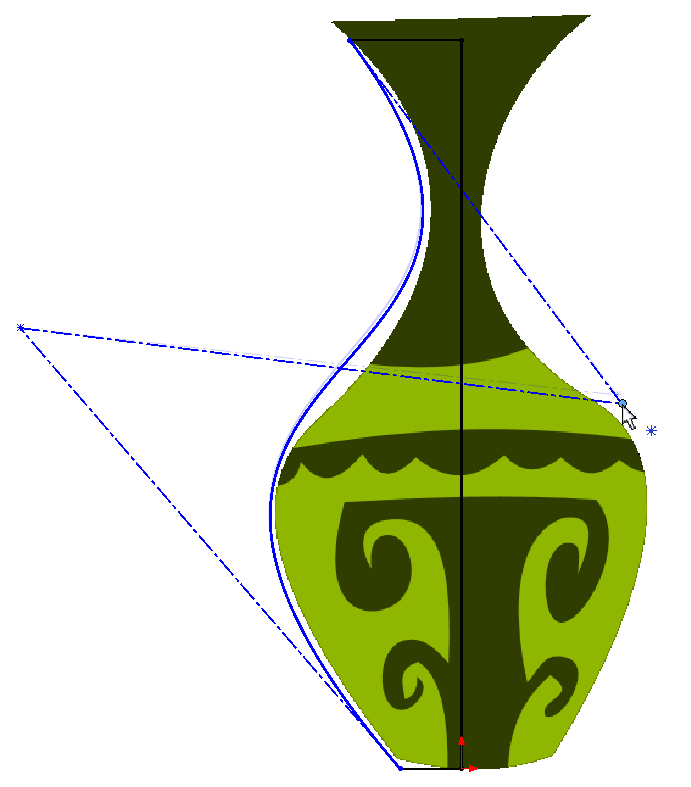
Often when choose to use splines when we need to trace the outline of an image. Here we’ll look at tracing the profile of this lovely vase.
If you have never used a spline before, your first option may be to grab lines and arcs to trace around the profile.
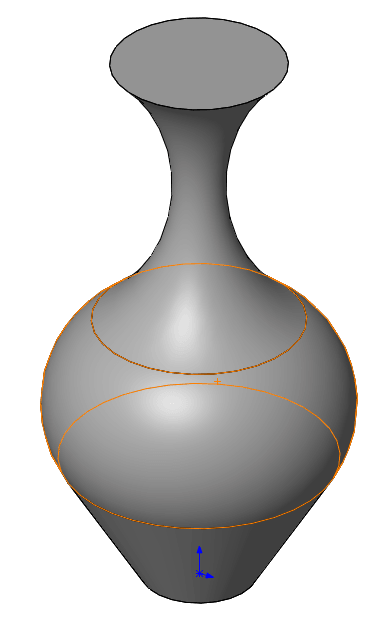
This looks okay, but once a feature is created, you’ll see that the result gives us multiple faces, which is not the most aesthetically pleasing result.
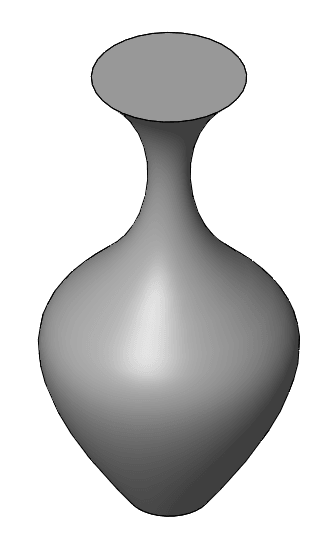
So what’s the alternative? Fit Spline! The Fit Spline command is used to trace multiple sketch entities with one continuous spline. This is a great command because it helps smooth out transitions between existing geometry or combining multiple entities into one. So where is this fabulous tool? You can use the menus to get to it: Tools > Spline Tools > Fit Spline
Honestly though, I love using the Command Search in the upper right hand corner of my SOLIDWORKS window. If you aren’t familiar with the Command Search, I highly recommend it. Take a minute to check it out.
Because it maintains reference to the underlying geometry and relationships it is perhaps the easiest tool to use to constrain a spline to specific dimensions.
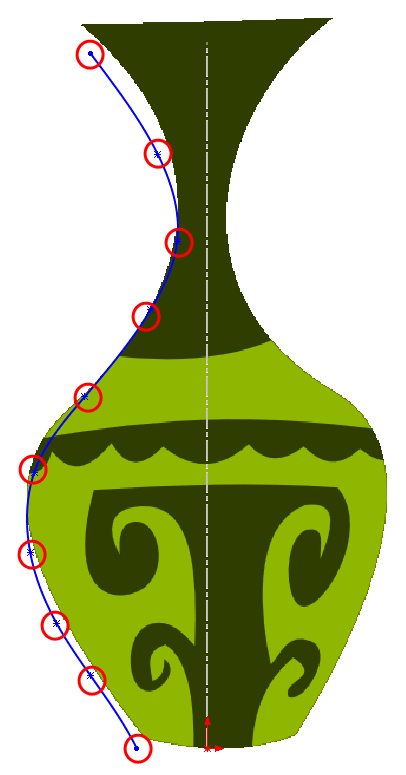
What if you want to create a spline of your own, not referencing other geometry? Users new to splines often start by clicking their way around the outside of the vase.
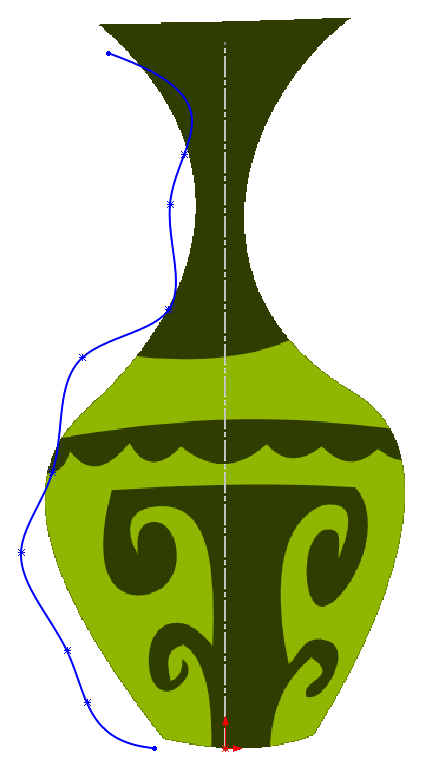
As you can see moving the spline points to refine the spline only leads to a mess.
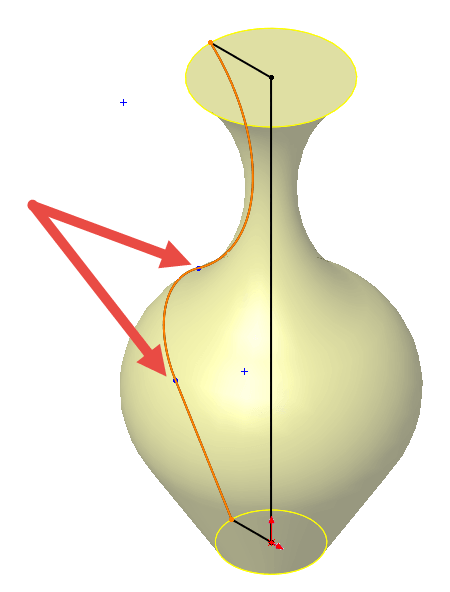
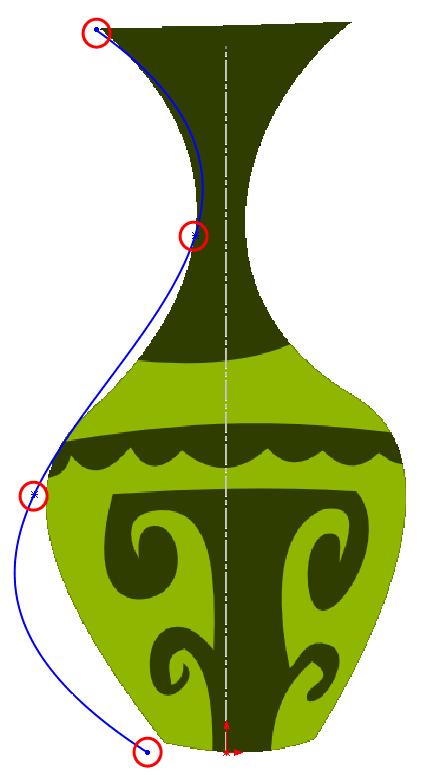
So what’s the answer? Less. Less is more when it comes to splines. Want more control of your spline, don’t use so many spline points. Though not perfect the spline is much smoother and will be much easier to control. The secret? When clicking along the profile, add a spline point at each hill or valley.
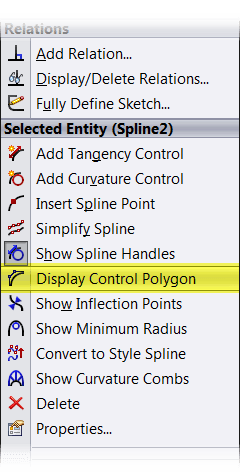
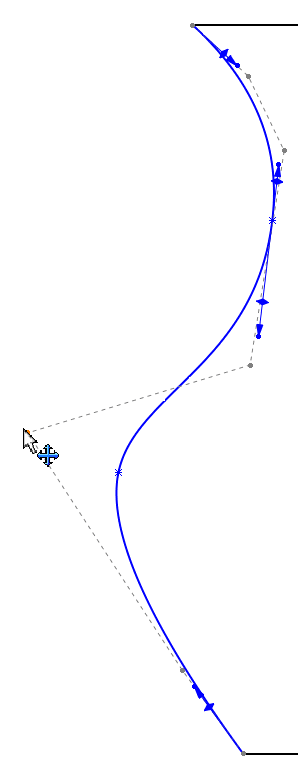
My favorite way to smooth out a spline is to utilize the Control Polygon which can be accessed through the right click menu when selecting the spline. The points of the control polygon can be dragged to manipulate the curve while still keeping in it its simplest form.
In 2014 SOLIDWORKS introduced the Style Spline. Similar to Splines, the curve created has continuously changing curvature. What sets it apart is when created your clicks locate the points of a control polygon which the curve fits within. The lines and points of the control polygon can be used in standard sketch relations and dimensions.
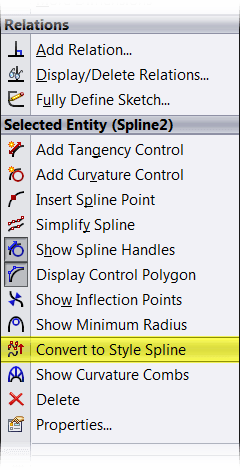
In 2015 SOLIDWORKS made things even cooler. Users can now switch between Splines and Style Splines. To convert a spline, right-click a spline and click Convert to Style Spline or Convert to Spline .
Want to dive deeper into splines? I highly recommmend the Advanced Part Modeling class once you’ve taken SOLIDWORKS Essentials. We have Advanced Part classes scheduled every month now until the end of the year. Check it out!

